
Skin is one of those notoriously difficult things to recreate in computer graphics in a believable way. The main component that gives skin that “fleshy” look is because it is fairly translucent and light tends to bounce around the skin a few times before it reaches our eyes.
This effect is called Subsurface Scattering or SSS for short. You can see the effect in the below images:


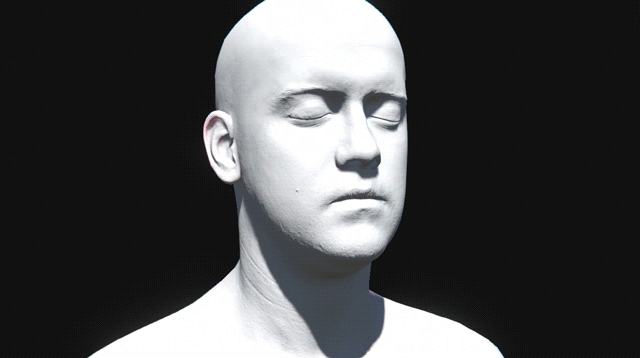
If the skin was completely opaque and you used Unity’s Standard PBR shading, you will get something like this:

It looks more like painted plaster than a human head. It is fairly easy to get this look if we trace every single light ray and use Raytracing but unfortunately, this is quite expensive to do in real time. We need to break down the SSS effect into components if we want to tackle this complex appearance.
Transmittance
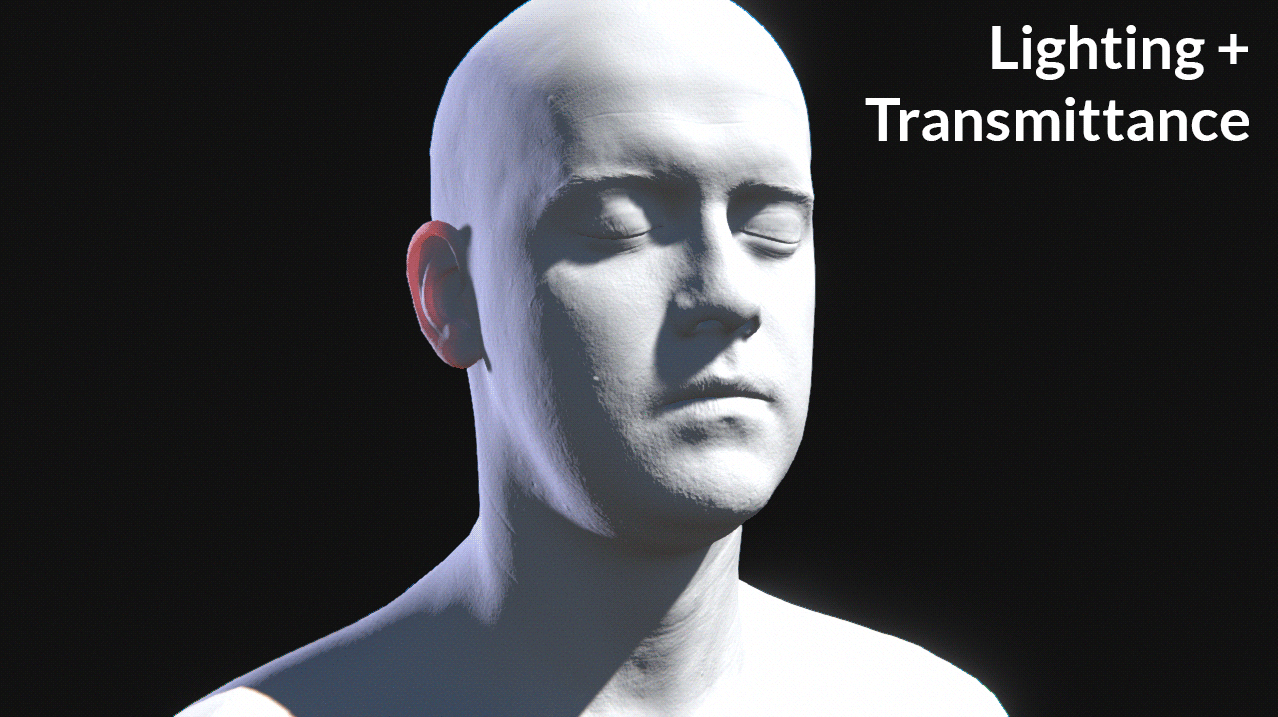
First of all, we want the light to be able to pass through thin areas like the earlobe and the nostrils. For this, I used a transmittance technique from EA’s Frostbite engine that was outlined in this GDC 2011 talk by Colin Barré-Brisebois and Marc Bouchard. And here is what it looked like after I implemented in Unity with sample code:
The same effect applied to our head:
Screen Space light blurring
Next, we need to tackle those rough looking pores, sorry Lee. We are going to use a technique called Screen Space Subsurface Scattering or SSSS. The technique was pioneered by Jorge Jimenez. You can read more about it on his Blog. It involves blurring the whole screen with a post effect using a special kernel that gives it a very skin like falloff and tint. We get a red tint because red wavelengths don’t get absorbed as much by our skin as other spectrums.

For performance reasons, we will do a separable blur. This means that instead of sampling all of the surrounding pixels in our kernel we will do it in a horizontal and vertical blur passes which greatly increases performance. If you want to know more about the separable blurring technique head over to NVIDIA’s GPU Gems chapter about it. Here is what we have after we apply some translucency to the skin:

Now that we handled the translucent lighting we still need to add color and some specular passes to our skin. Since the effect is done using Forward rendering, we don’t have access to the different buffers and we have to create our own using Albedo and Specular cameras that render the same scene with replacement shaders. The Albedo pass is quite trivial to implement and only involves reading the skin texture. This is what it looks like after we combine our skin blurring, transmittance, and albedo:

The specular pass was achieved using Unity’s PBS functions to give that natural looking reflectance:
After we combine all our passes, we finally have convincing looking skin:

In the future, I hope to transfer this technique to a Deferred pipeline since it gives us passes to work with out of the box. Also make the skin blurring kernel a customizable texture to give the user more control. I hope you found this post informational. If you have any questions feel free to drop me a line.

Leave a comment